
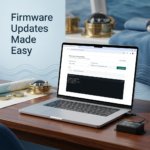
This article is written for those who have bought a fully built kit , this will have the firmware pre-installed and minimal setup required.
Wiring into your seatalk bus.
Installing on your boat is very simple and involves three wires from the seatalk bus and can be taken from an existing instrument with spare three pin connector , a multi port hub or simply joining up the wires in a terminal block .Ensure power is off while wiring to device to avoid shorts or reversed polarity.
Once you have three wires Positive,Negative and Data . Remove the PCB from the case . Slide wire from sea talk into the case and feed through hole. Finally install the three wires in the terminal connectors as seen in image below ensuring polarity is correct . Positive top , data middle , negative bottom .

Once connected and device is powered , LED should be lit up .You will now be able to use your remote with the default button mappings .
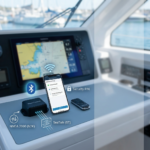
To change button mappings you can do this using the WIFI/ Web interface . To connect check for access point called “Nauti-Control” the default password is “123456789” . once connected open browser to http://192.168.1.1/ . This should bring up the web interface below
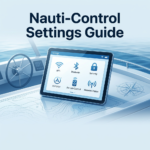
Clicking setup will show a screen with a list of buttons and associated drop downs , select the appropriate values . The timer count down can also be set from here. Default is 5:00 minutes as per race starts where I am! .
Buttons will relate to A,B,C,D will relate to 1,2,3,4 if you have a four button remote.
The web interface can also be used to control the auto pilot.
You can check the following video to see me demonstrate all steps above.
If still having issues ask a question in our facebook group or have suggestions / requests visit the support group.
https://www.facebook.com/groups/307695028303840


Leave a Reply
You must be logged in to post a comment.