When you receive your Nauti-Control Wireless Controller, either the ST or N2K version, there are a few settings that should be configured before first use.
App / Bluetooth Setup
Setup can be completed using the Nauti-Control mobile app. This must be done using the main Apple or Android app, not the watch app.
You can download the app here: https://nauti-control.com/nauti-control-mobile/
The latest firmware includes a 4-digit Bluetooth PIN for improved security. The default PIN is 0000. You will be asked for this when you first connect.
After entering the PIN, the onboarding wizard will ask you to set your new security details:
- Web Admin Password – used to access the built-in web setup pages.
- Wi-Fi AP Password – used when connecting to the Nauti-Control Wi-Fi network.
- Bluetooth PIN – used when connecting through the mobile app.
Once complete, the controller will automatically restart. Reconnect using the new Bluetooth PIN you selected.
Pairing Additional Remotes Using the App
If you are upgrading from an older firmware version, or need to pair additional remotes such as the yellow 6-button or 8-button remote, this can be done from the device settings.
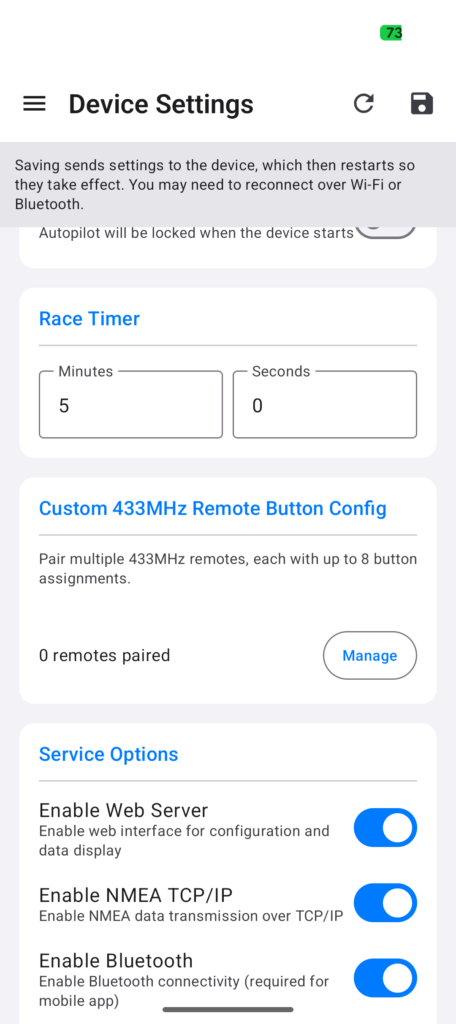
Open the burger menu, go to the device settings, then scroll down until you see Paired Remotes and click Manage.
Click Add Remote or the + button to add a new remote.
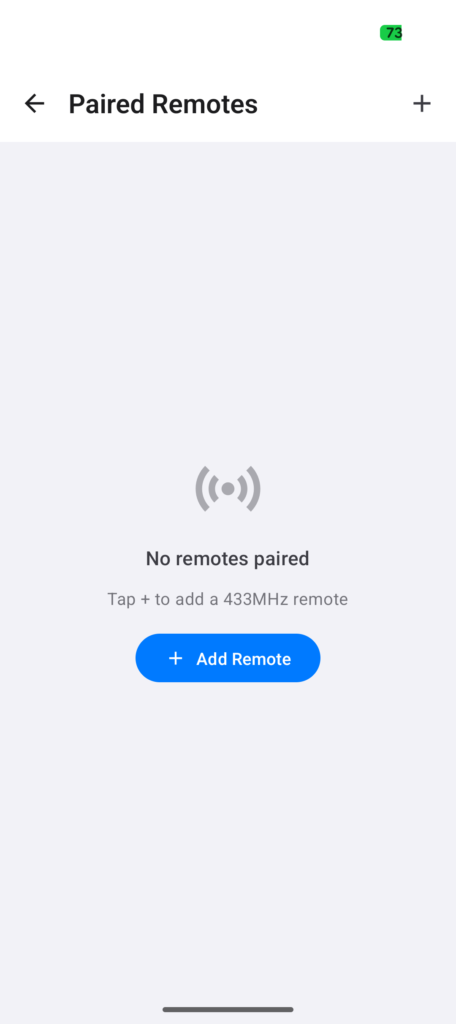
You can now record the button codes from your remote. Click Learn beside the required button function, then press the matching button on your remote. Repeat this for each button you want to use.
When all required buttons have been learned, return to the main settings screen and click Save. The settings will be sent to the controller and it will reboot automatically. After the reboot, your new remote will be paired and ready to use.
Wi-Fi Web Interface Setup
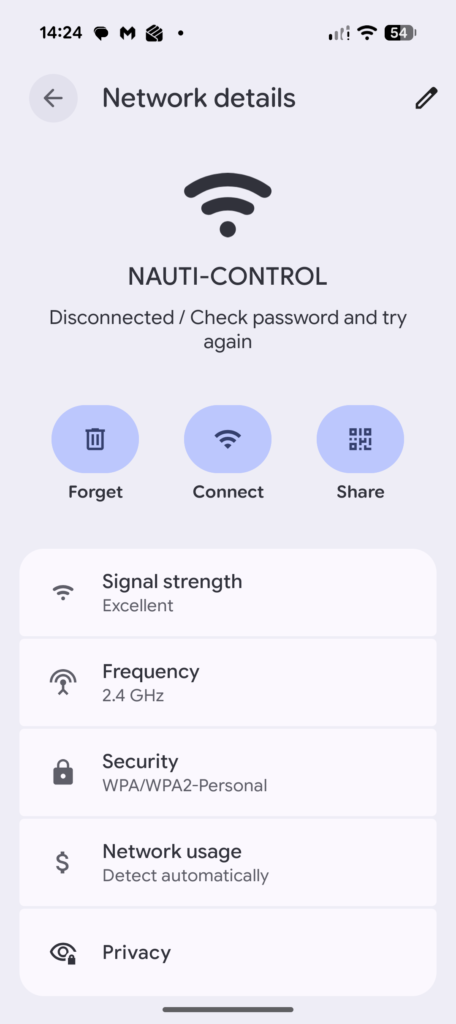
The controller also includes a built-in web interface for configuration and setup. Connect your phone, tablet, or computer to the Nauti-Control Wi-Fi network using the default password: 123456789.
Once connected, the first boot setup screen shown below should appear automatically. If it does not open automatically, open your web browser and go to http://192.168.1.1.

Enter your preferred security settings:
- Web Admin Password – used to access the web interface and setup pages.
- Wi-Fi AP Password – used when connecting to the Nauti-Control Wi-Fi network.
- Bluetooth PIN – used by the mobile app when connecting to the controller.
After changing the Wi-Fi AP password, you may need to select Forget Network on your phone or tablet before reconnecting. Your device may have saved the original default password and may otherwise fail to reconnect.
The controller will reboot automatically after saving the settings. Once reconnected, open http://192.168.1.1 in your web browser. You will now be prompted for the Web Admin Password created during the initial setup.
Pairing Additional Remotes Using the Web Interface
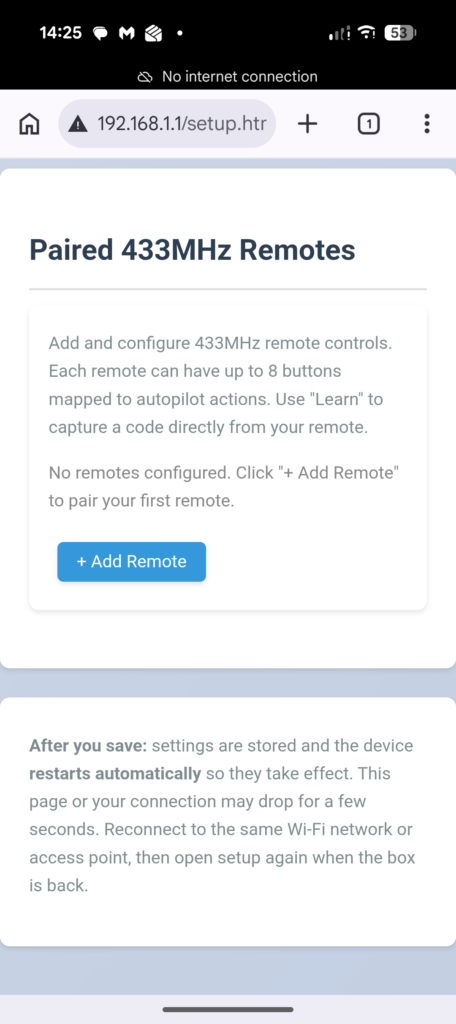
If you have upgraded the firmware, or need to pair additional remotes, the latest firmware supports multiple remotes with separate button mappings for each remote.
Go to the Setup page, scroll down to the Remotes section, and click Add Remote.
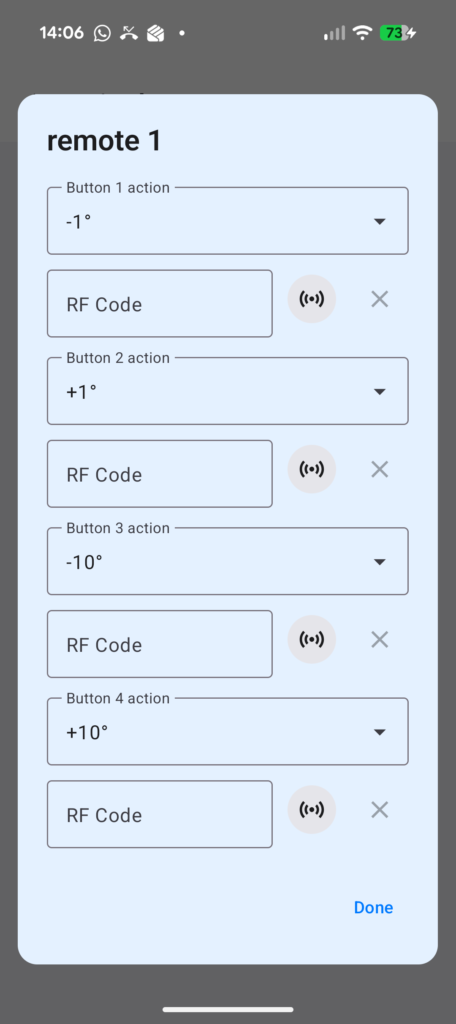
You will now see up to eight available button mappings for the selected remote. You do not need to configure all eight buttons, only the buttons available on your remote.
To learn a button, click the Learn button beside the required function, then press the corresponding button on your remote. The button code will be detected and entered automatically.
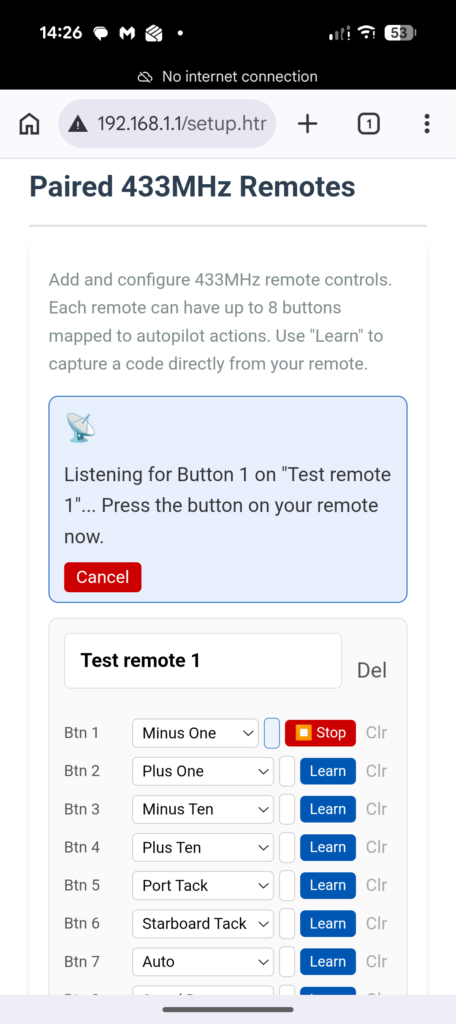
Once all required buttons have been learned, scroll to the bottom of the page and click Save. The controller will reboot automatically. After the reboot completes, your remote buttons will be ready for use.
Important Settings Reference
Most configuration options are available from both the mobile app and the web interface. Any settings changed on the Setup page are stored in the controller and synchronised across all connected devices.
Note: Saving settings will automatically reboot the controller. The reboot normally takes around 2 seconds and allows the new settings to be applied.
Security Settings
- Web Admin Password – Protects access to the web interface setup pages.
- Wi-Fi AP Password – Password required to connect to the Nauti-Control Wi-Fi network.
- Bluetooth PIN – Four-digit PIN required when connecting through the mobile app.
Network Settings
- mDNS Hostname – Allows access to the controller using a friendly address such as
http://nauti-control.local. - Wi-Fi Client Mode – Connects the controller to your existing onboard Wi-Fi network.
- Static IP / DHCP – Choose whether the controller receives an automatic IP address or uses a fixed address.
- Access Point Channel – Select the Wi-Fi channel used by the controller’s own Wi-Fi network. Channel 6 is recommended for most installations.
Autopilot Settings
- Autopilot Type (N2K version only) – Select the protocol used by your autopilot manufacturer.
- Lock Autopilot on Boot – Prevents accidental heading or mode changes until the lock is disabled.
Race Timer
The Race Timer stores the countdown duration used when the Start Timer button action is triggered from a paired remote or companion app.
Services
- Web Server – Enables the built-in web interface.
- NMEA TCP/IP – Streams NMEA 0183 data on TCP port 8091 for chart plotters and navigation apps.
- Bluetooth – Enables communication with mobile and smartwatch apps.
- 433 MHz RF Remote – Enables support for wireless remotes.
- NMEA 2000 (N2K version) – Enables NMEA 2000 communications.
- SeaTalk (ST version) – Enables SeaTalk communications.
Debug Logging
Debug options are available when troubleshooting communication issues. Logging should normally remain disabled, as excessive logging may reduce performance.