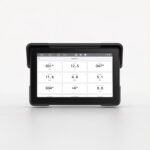
The M22 is a 7″ Android display for the helm or the chart table. Run the Nauti-Control app on it for live instruments and autopilot control from your Nauti-Control controller, and your chart apps alongside. This guide covers fitting it on a boat and getting it connected.
1. In the box
- M22 MFD 7 display
- Power lead with an inline 12-24 V converter (red, black and yellow wires with fork terminals)
- Ball-joint mounting arm with a tube clamp (two bolts with nylon lock nuts). It clamps onto a guardrail, pushpit, arch tube or grab rail, and fits the ball on the back of the display.
- External GPS antenna on a lead, with a screw-on (SMA) connector. The display’s receiver uses GPS and BeiDou satellites, so chart apps can use its own position.
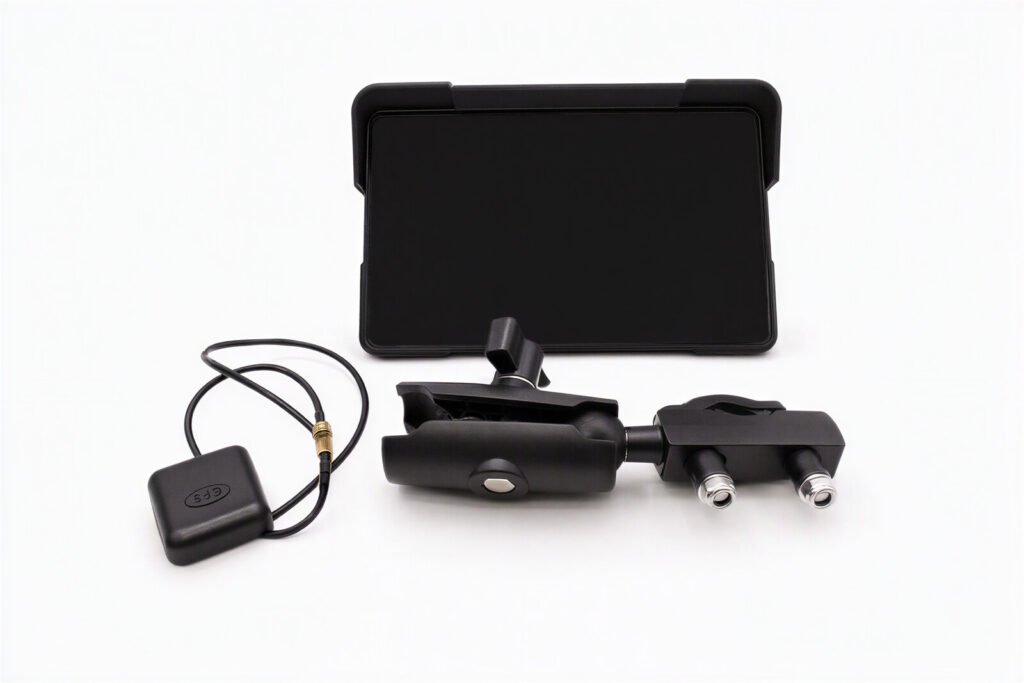
Not included: a microSD card (optional), an inline fuse and holder, crimps and cable.
2. Before you fit it
You will need:
- A fused 12 V or 24 V DC supply from your switch panel. The converter on the power lead takes 12-24 V.
- An inline 3 A fuse, if the circuit isn’t already fused at 3 A or less. The display draws at most about 1.5 A from 12 V, or 0.75 A from 24 V.
- Marine-grade (tinned) cable, heavy enough that the voltage at the display stays up (see the low-voltage note in section 4), and heat-shrink crimps
3. Choosing where to mount it
- Pick a spot that’s easy to see and reach from the helm or the chart table.
- The display is IP67 (dust-tight, survives brief immersion), so it can go in the cockpit. The power converter and the cable joints are not: put them behind a bulkhead or in a locker where they stay dry.
- The display’s speaker has a magnet. After fitting, check your steering compass and any fluxgate compass haven’t moved with the display on and off.
- It works in landscape or portrait (see section 9).
- Leave room behind it for the cable to bend gently.
- Put the GPS antenna where it can see the sky, flat side up.
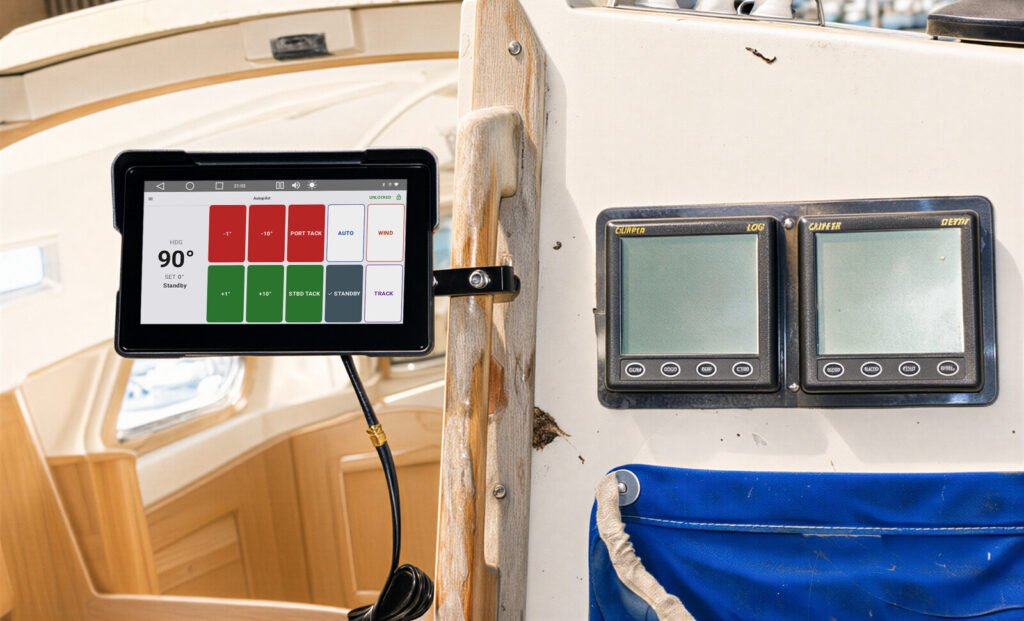
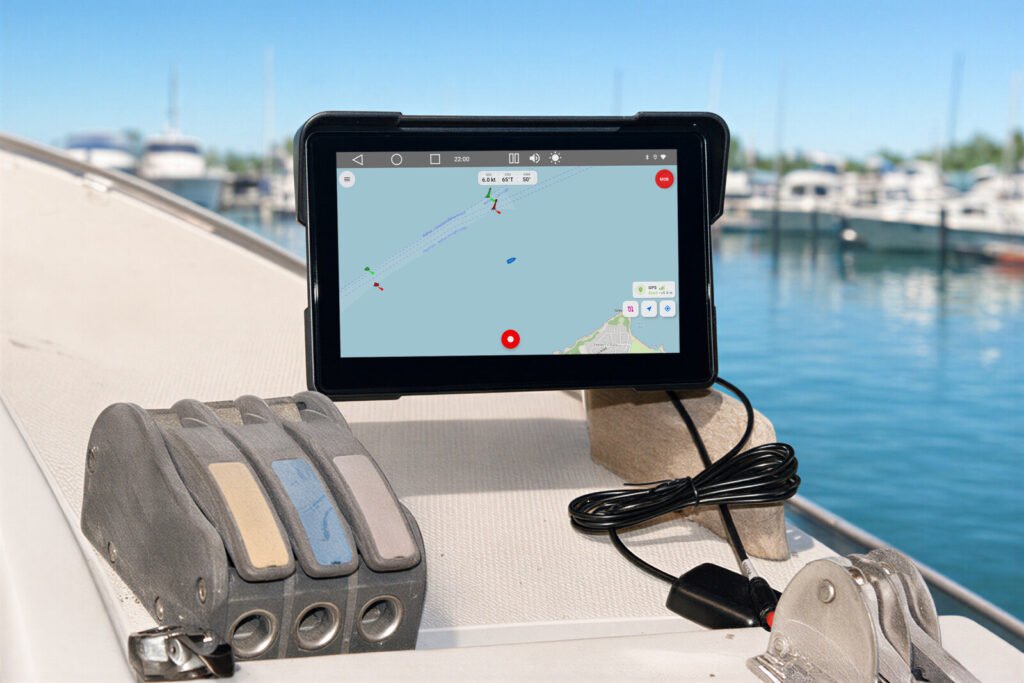
The arm clamps onto most tubes and handles on board. Three places that work well (the screens in these photos were recorded on our test bench):
On the pushpit
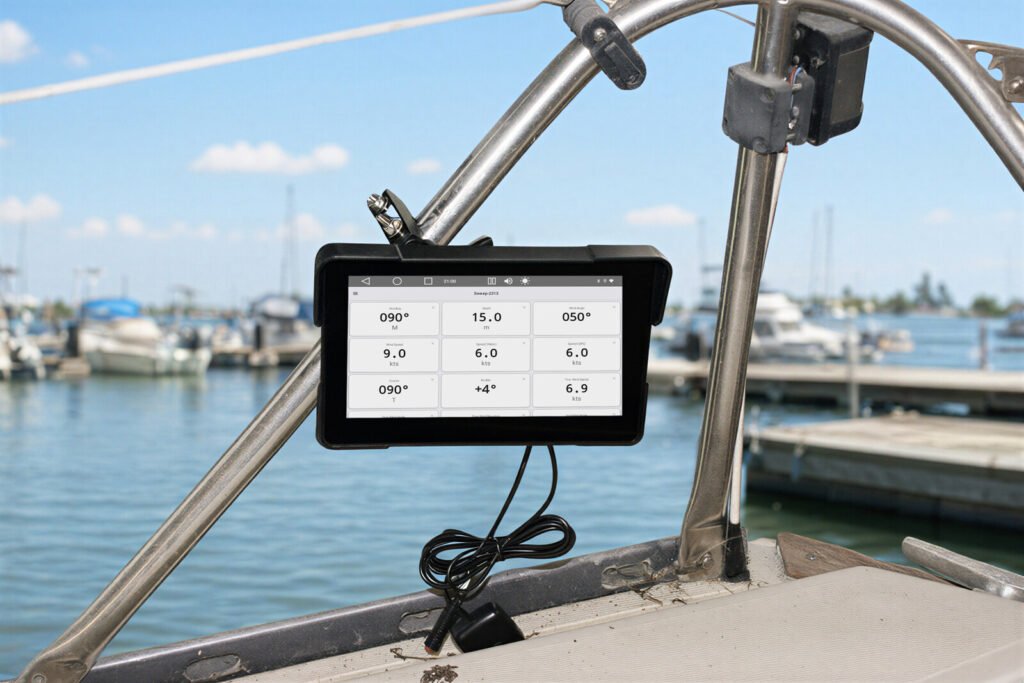
On the handle by the hatch
On a cabin-top grab rail
4. Wiring
The power lead has three wires:
| Wire | Connect to | What it does |
|---|---|---|
| Black | Negative busbar (0 V) | Ground |
| Yellow | Fused 12 V or 24 V supply | Main power (B+) |
| Red | Fused 12 V or 24 V supply, switched | Tells the display to switch on (ACC) |
Simplest fit: join the red and yellow wires and connect them to one fused, switched circuit on your panel. The display then switches on and off with that breaker.
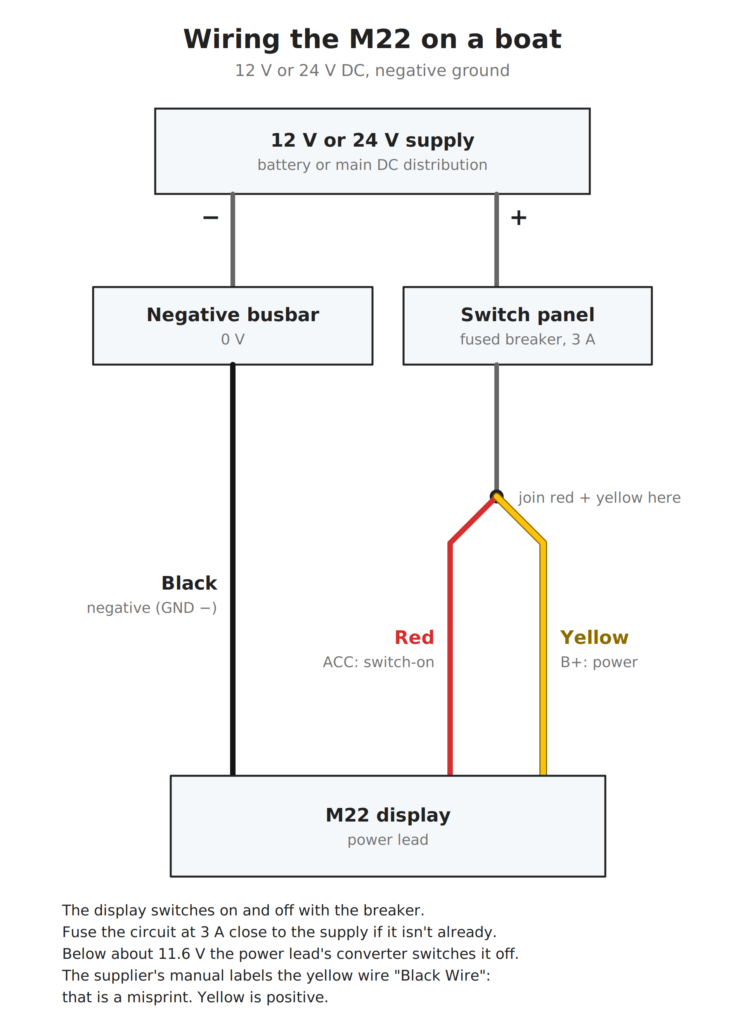
Low-voltage cut-off: the converter switches the display off if its supply drops below about 11.6 V. That stops it running a 12 V battery flat, but a tired battery or a long, thin cable run can switch it off too, for example while the engine starts. If the display goes off under load, charge the battery or use heavier cable.
Alternative: yellow to a permanent fused supply and red to a switched one. The display then follows the switch.
Don’t connect it to the engine’s ignition circuit. Boats rarely have an ACC feed like a car.
5. First start
- Switch on the breaker. The display starts up.
- Choose your language, then join a Wi-Fi network (your phone’s hotspot or the marina’s). You’ll need it to install apps.
- Sign in to Google to use the Play Store.
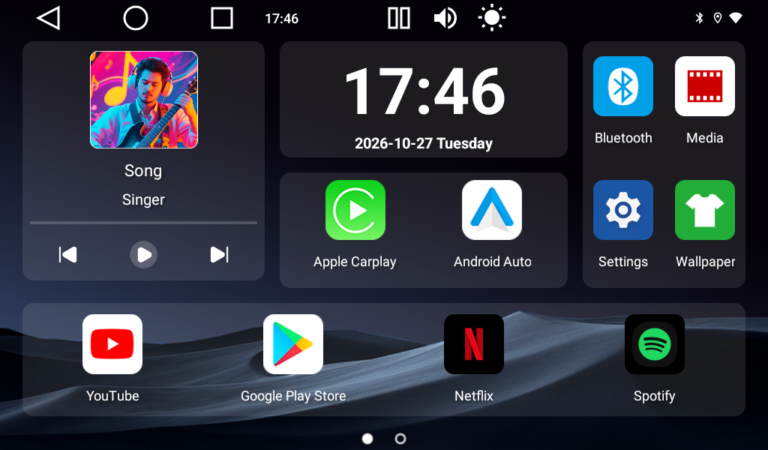
6. The home screen
7. Installing your marine apps
Install these from the Play Store:
- Nauti-Control: autopilot control and live boat data from your Nauti-Control controller. Free.
- Navionics, Savvy Navvy, OpenCPN and other chart apps. Each needs its own account or charts.
8. Connecting to your Nauti-Control controller
Nauti-Control app (Bluetooth): open the app, pick your controller from the list and enter its PIN. You’ll see the dashboard and the autopilot controls. Keep the app up to date from the Play Store.
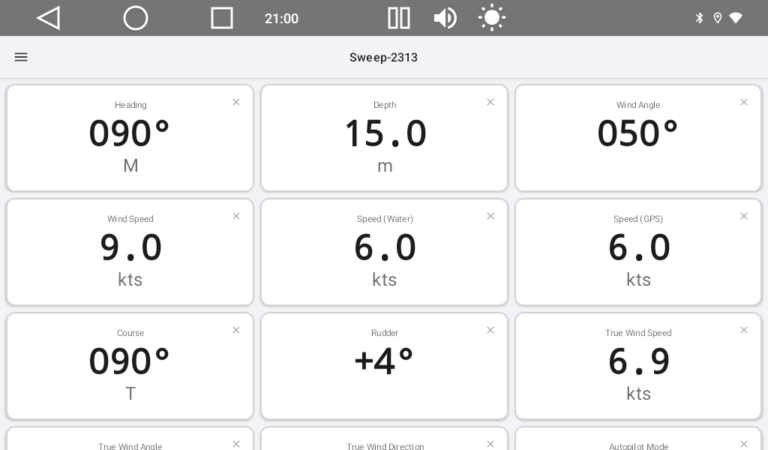
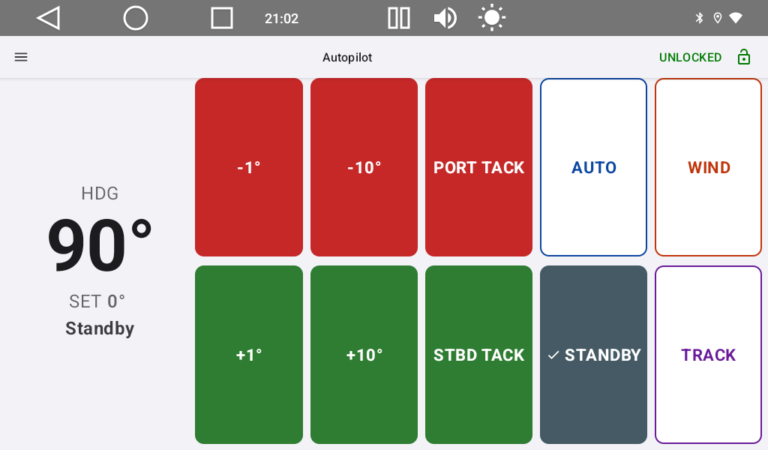
Chart apps (Wi-Fi): join the controller’s Wi-Fi network, then add an NMEA connection in the chart app: TCP, host 192.168.1.1, port 8091.
Internet: the display has Wi-Fi but no SIM. For the Play Store, sign-ins and chart downloads, join your phone’s hotspot or the marina Wi-Fi. It’s on one Wi-Fi network at a time, so while it’s on the controller’s network it has no internet: download your charts for offline use before you leave. The Nauti-Control app uses Bluetooth, so it works whichever Wi-Fi network you’re on.
9. Landscape or portrait
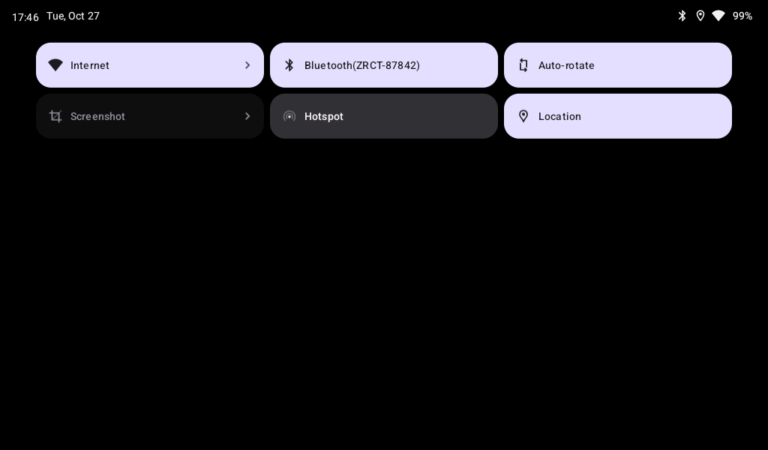
Pull down from the top of the screen and tap Auto-rotate to turn rotation on. Turn the display the way you want it, then tap Auto-rotate again to lock it. Keep it locked on board: with Auto-rotate on, the boat heeling or pitching can flip the screen.
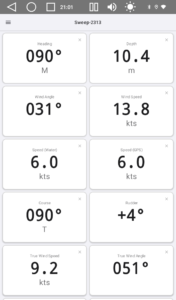
In portrait, the Nauti-Control dashboard switches to two columns. The sun hood then runs down one side, so put it on the side the sun comes from.
10. microSD card (optional)
The slot takes a microSD card. Use it for chart files, routes, photos and music. The Files app shows it as EXT_SD_CARD.
11. Care and safety
- Fit it to a fused circuit, with the fuse close to the supply.
- The display is IP67, but keep the converter and joints dry. Rinse salt off with fresh water and wipe it with a soft damp cloth. No solvents.
- Don’t leave it in direct sun on a closed-up boat. It’s rated for storage from −20 °C to +70 °C, and a shut cabin in summer can get hotter than that.
- Switch it off at the breaker when you leave the boat.
- Don’t open the case. There are no user-serviceable parts inside.
The M22 and Nauti-Control are supplementary aids, not safety-critical navigation equipment. The skipper stays responsible: keep a proper lookout.
12. Help
More guides and help for your Nauti-Control kit: nauti-control.com support.
Questions, a fault or a return: email admin@nauti-control.com. The M22 is covered for 12 months against manufacturing defects, return to base (see our terms and returns policy).
Leave a Reply
You must be logged in to post a comment.